The built up crown example below covers many of the concepts and direction that you would need to install any crown, regardless of how many pieces. For this example, we are using the Classical Colonial four piece crown. Please note that this example uses mitered inside corners. This was only to show alternatives. Normally, we recommend using coped joints for inside corners.
to ensure a professional job. Begin by marking or snapping a chalk line on the ceiling around the perimeter of the room, 5 1/2 in. out from the wall. Mark a second line on the walls, 3 1/4 in. down from the ceiling. Unlike other crown molding designs, this four-piece cornice will absorb irregularities between corner and mid-wall measurements; most inconsistencies in reveal lines will not be apparent.
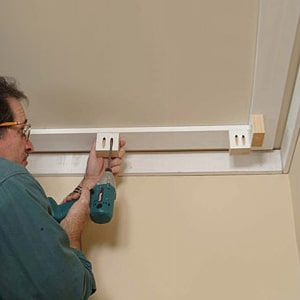
2. INSTALL CONTINUOUS 3/4 in. BACKING
on both the walls and the ceiling. The wall backing can be any width of material, as it fastens directly to the studs. The ceiling backing should be wide enough to almost reach the wall, so that fasteners will penetrate through the drywall to the framing backing on walls that are parallel to the ceiling joists. Apply panel adhesive wherever framing backing is lacking.
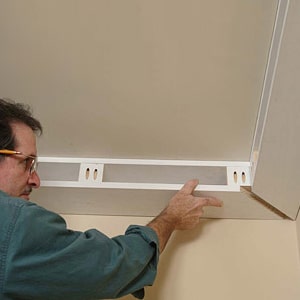
3. THE SOFFIT (S4SSE) MUST BE INSTALLED CAREFULLY
or the job will not progress professionally. First, hang mid-span soffit supports from the ceiling backing approximately 4 ft. on center and in all corners. Cut the supports 2-1/2 in. long (if the ceiling backing is 3/4 in. stock); toe nail or screw the supports to the ceiling backing(alternatively, continuous backing may also be installed). Cut and miter all outside and inside Soffit corners. To ensure a tight-fitting and flush joint, biscuit all miters. Fasten the Soffit to the wall backing and to mid-span supports
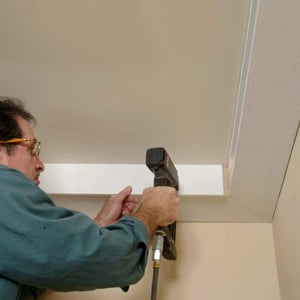
4. FASTEN THE FASCIA (CROWN #2)
TO THE CEILING BACKING. The Fascia cove must point down and towards the wall. The bottom of the Soffit should be flush with the top shoulder of the Fascia cove. Inside and outside corners must be mitered. Nail through the Fascia into the Soffit, and into the ceiling and mid-support backing.
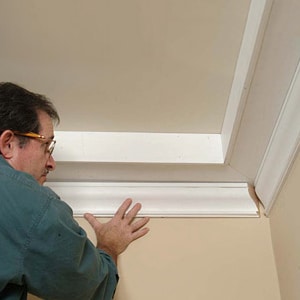
5. CUT & INSTALL THE GROUND (CROWN #3)
Profiles can be mitered or coped. In general, depending on climate, it's easiest to miter and glue your corners. If you live in a region with a relatively humid climate, you may be more inlcined to cope your joints.
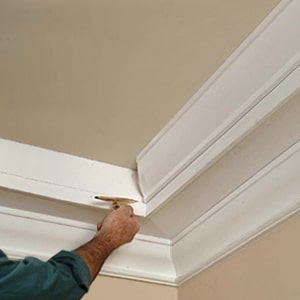
6. SCRIBE OR SNAP A CHALK LINE
1-1/4 in. up from the bottom of the Fascia. Fasten the crown molding as close as possible to that line.
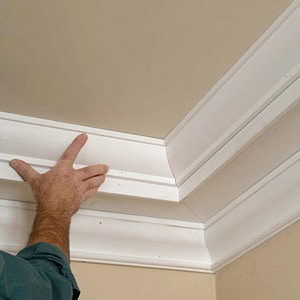
note
The 1 1/4-in. wide reveal will absorb most inconsistencies in the ceiling.
Special thanks to Gary Katz for providing this photography & guidance. To learn more carpentry techniques check out THISisCarpentry.com
