From Sandwiches to Shiplap: How Lombardi’s Gourmet BBQ in Petaluma Upgraded with WindsorONE 5/4×6 S4SSE trim boards and WindsorONE 1×6 shiplap.
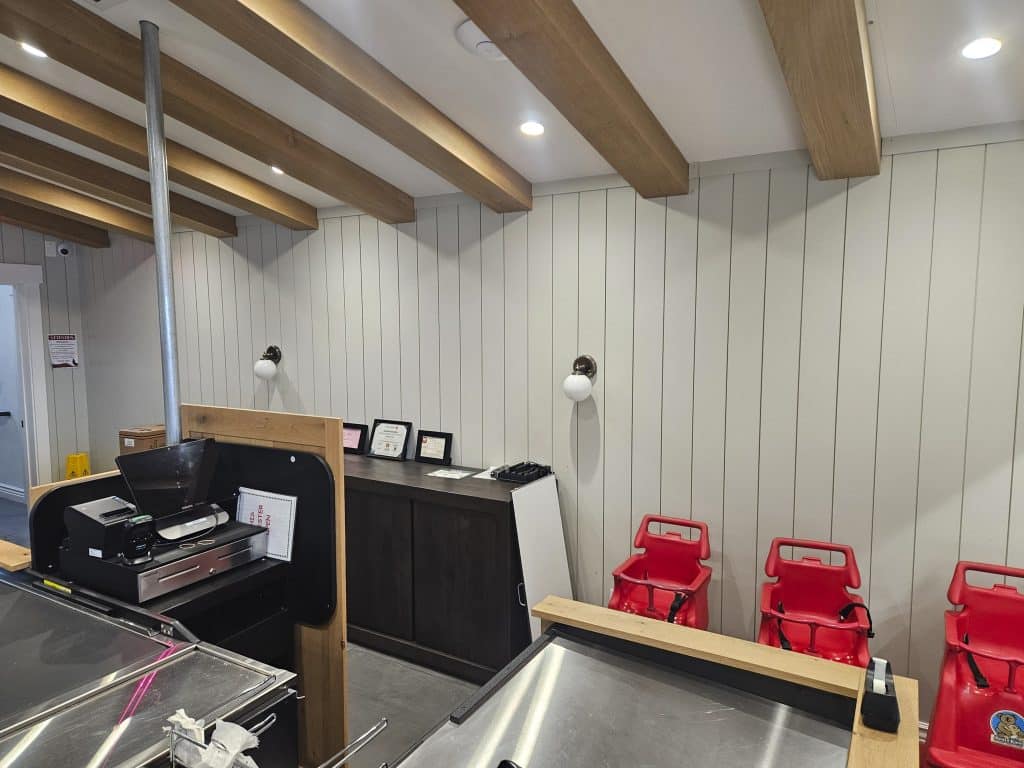
Lombardi’s Deli has been a Petaluma staple for generations—where tri-tip sandwiches, smoky BBQ, and family recipes come together under one roof. So when it came time to the remodel, the team knew they needed materials that would hold up to more than just foot traffic. We’re talking sauce splatters, steam, and the everyday grind of a deli that doesn’t slow down.
And just like a brisket, even the walls deserve the utmost craftsmanship: slow-crafted, seasoned right, and tough as hell. The details matter, and that’s why Lombardi’s Del chose trim boards from WindsorONE.
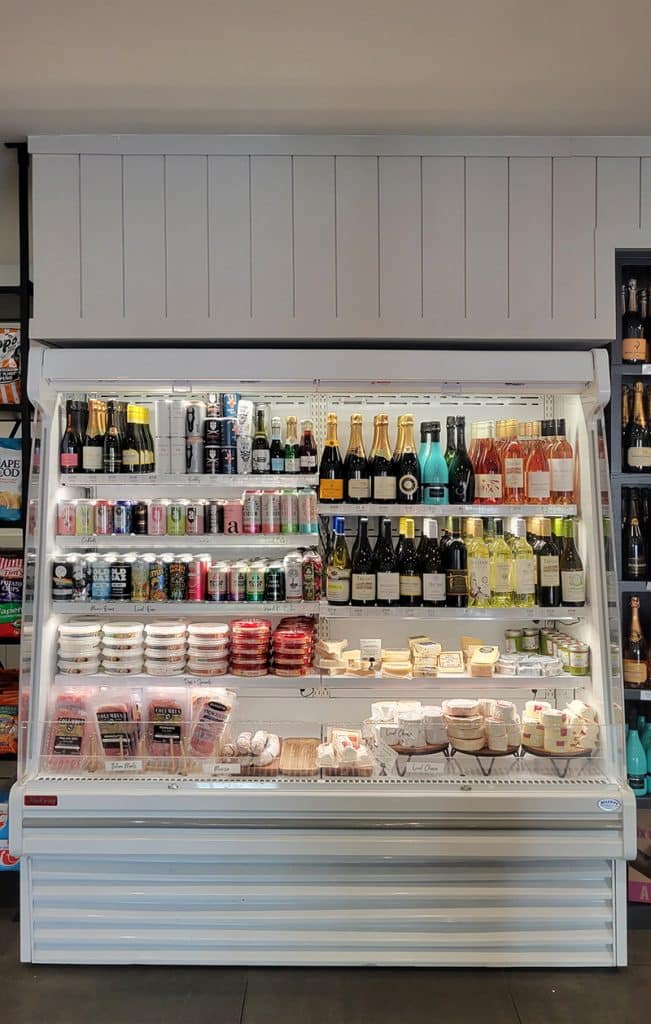
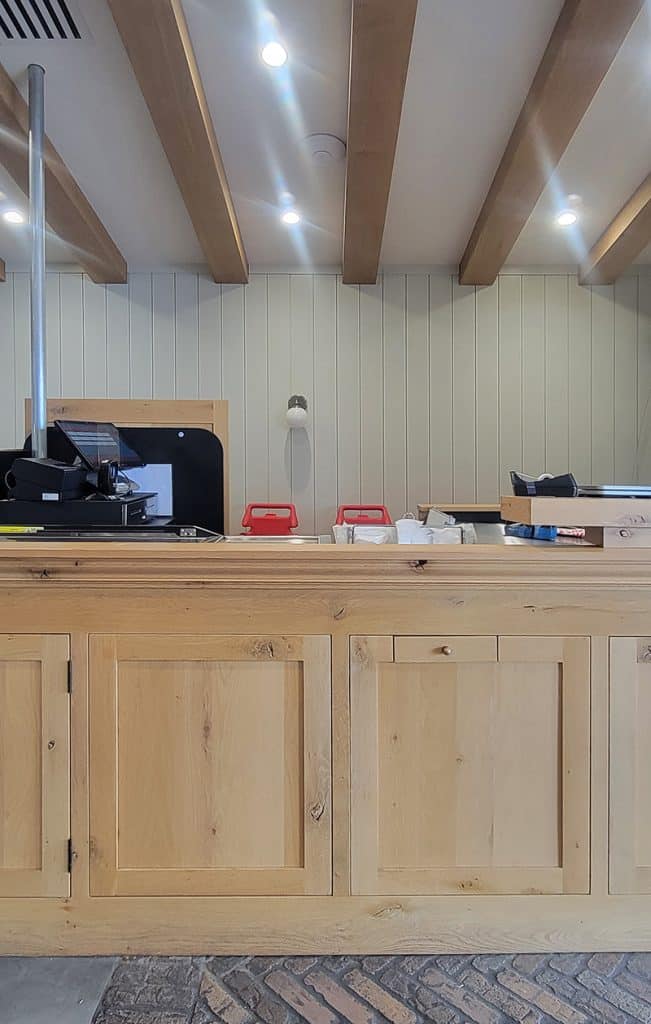
Why WindsorONE? Because Details Matter
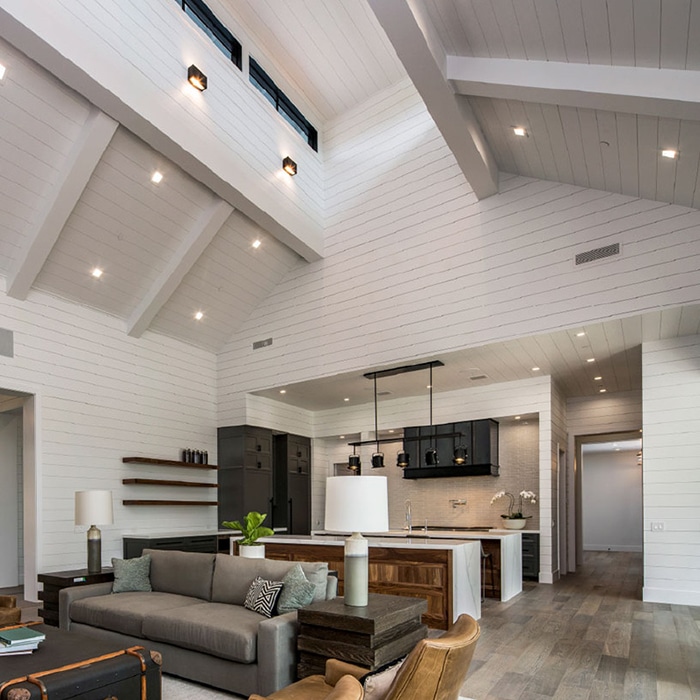
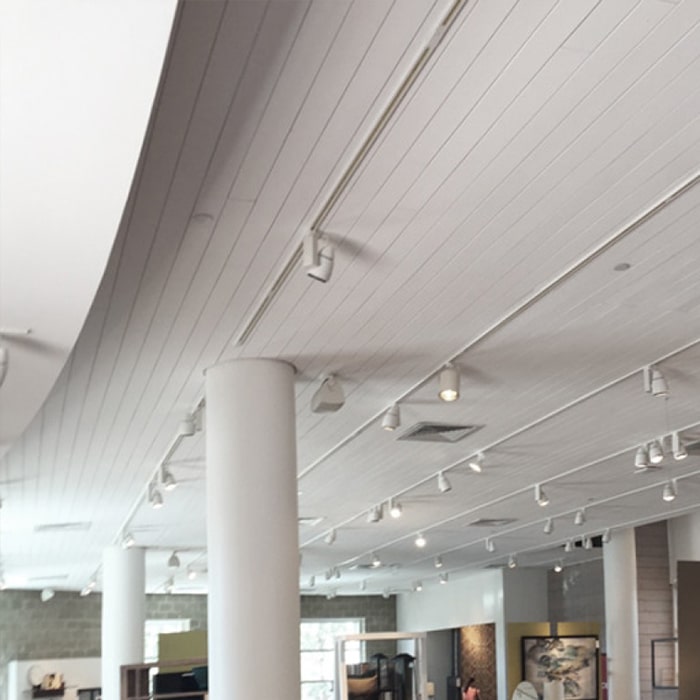
Lombardi’s wasn’t looking for off-the-shelf paneling. They wanted clean lines, classic character, and durability that holds up long after the lunch rush. Shiplap isn’t just for farmhouse living rooms. In high-traffic spaces like commercial restaurants, it adds texture, visual interest, and holds up against heat and humidity.
• WindsorONE S4SSE Trim Boards and shiplap are straight, tight and true making it easy to work with which gives Lombardi employees more time to focus on crafting sandwiches and bringing their customers the best BBQ in Northern California
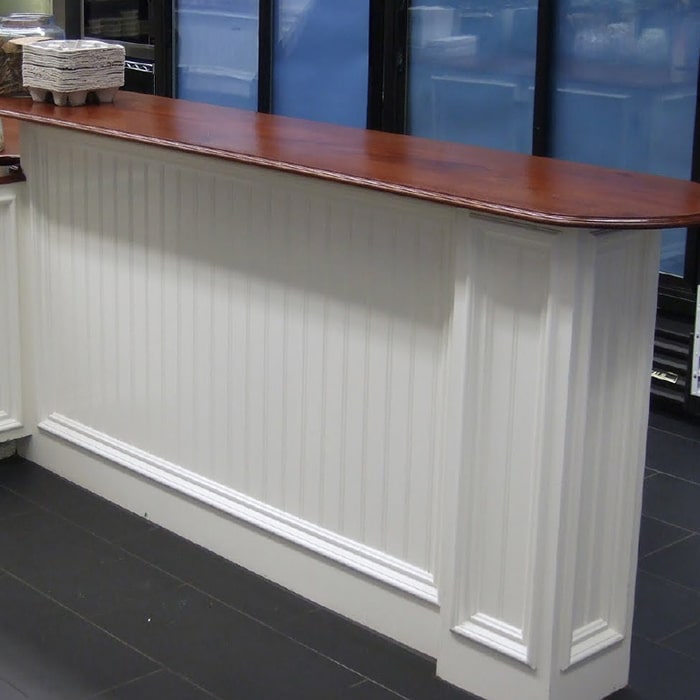
• No different than their kitchen knives, the trim boards provide crisp shadow lines and a look that stays sharp over time. No gaps. No movement.
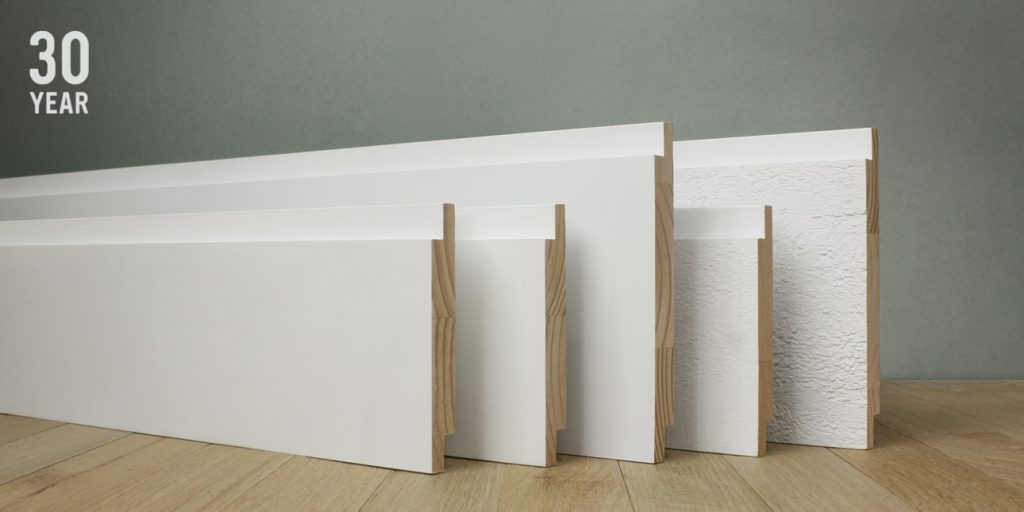
• Protected against the grind, WindsorONE Protected Trim Boards come with a 30 year warranty against rot, insects and mold. These trim boards are perfect for interior spaces that get messy, receive frequent contact with steam, or see a lot of wear and tear. You know… like a deli kitchen.
• And just like Lombardi’s, at WindsorONE we believe in buying locally. Manufactured in the USA, every board of WindsorONE is made with pride, precision and the kind of attention to detail and craftsmanship that Lombardi himself would be proud of.
The Look: Clean, Coastal, Classic
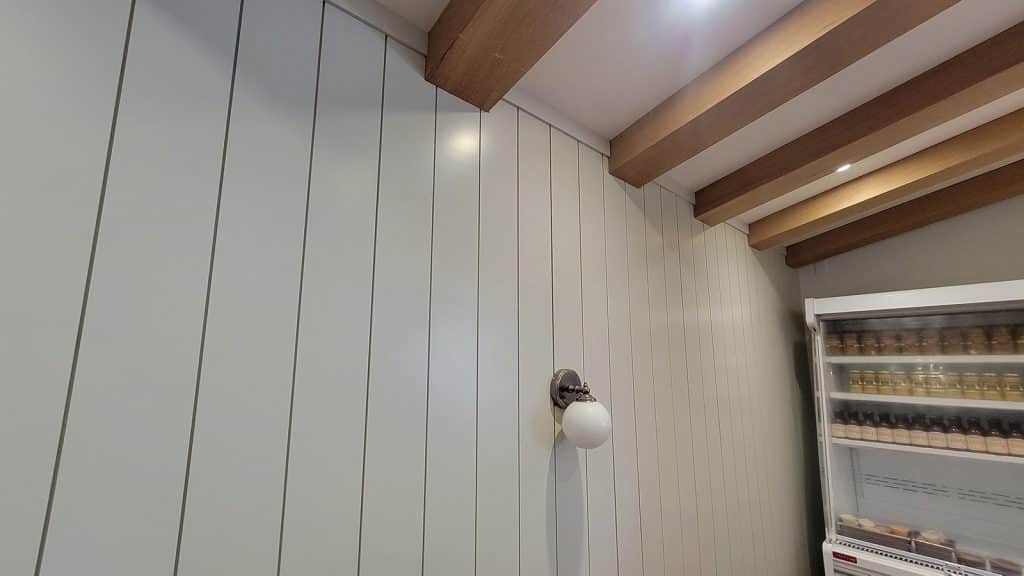
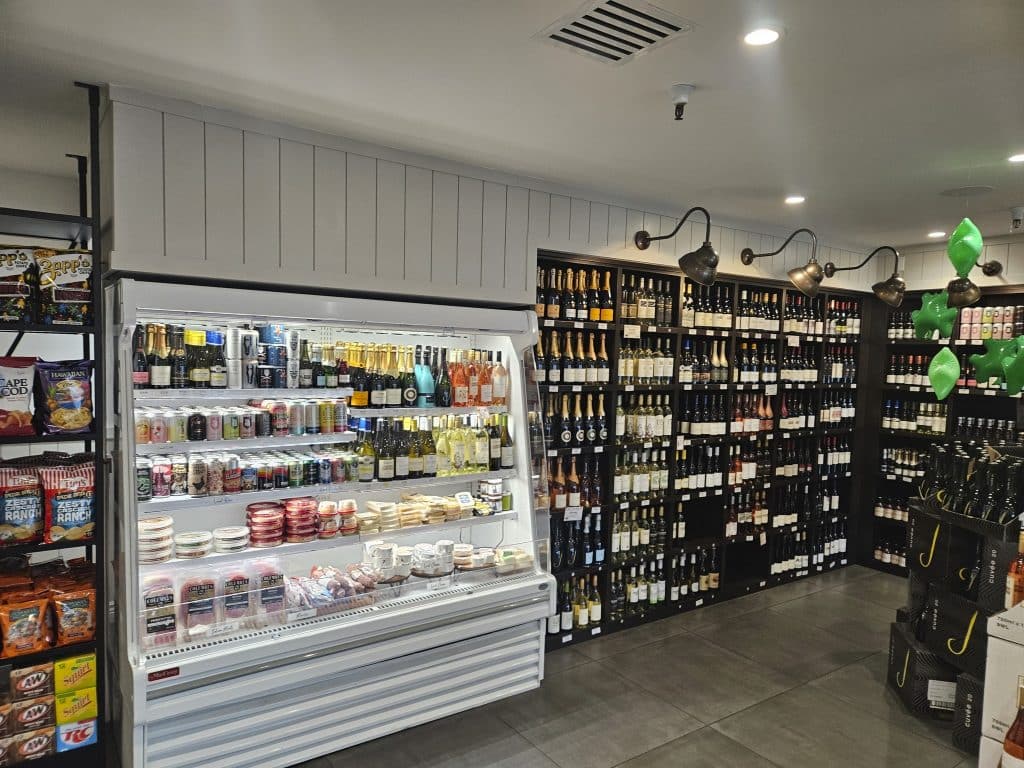
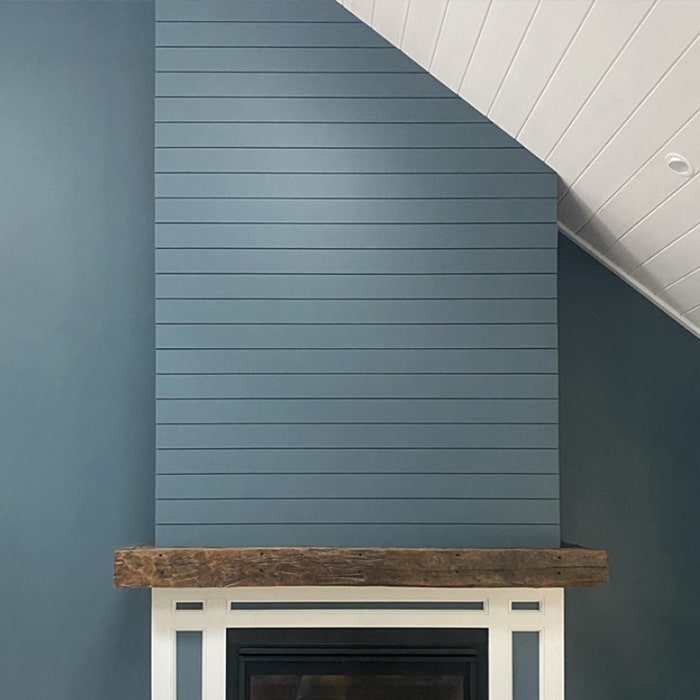
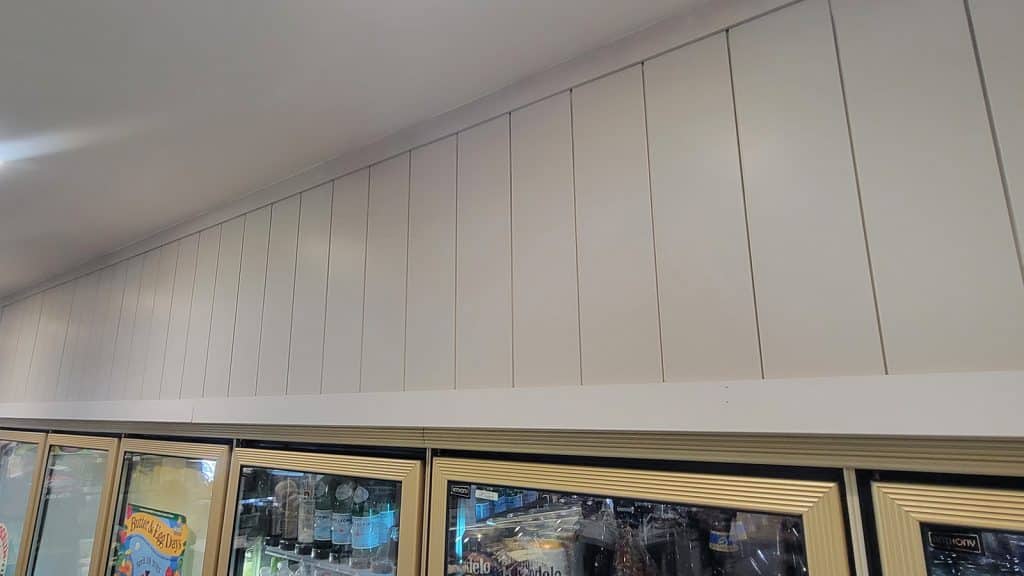
The remodel brought together old-school charm and modern craftsmanship. With WindsorONE shiplap lining the walls, ceilings, and accent spaces, the deli now serves vintage character along with every sandwich. And let’s be real—there’s something about shiplap and smoked meat that just works. Chef’s kiss.
Whether you’re waiting on a pastrami melt or picking up ribs for the weekend, the space now wraps you in warmth and texture that says: we give a damn.
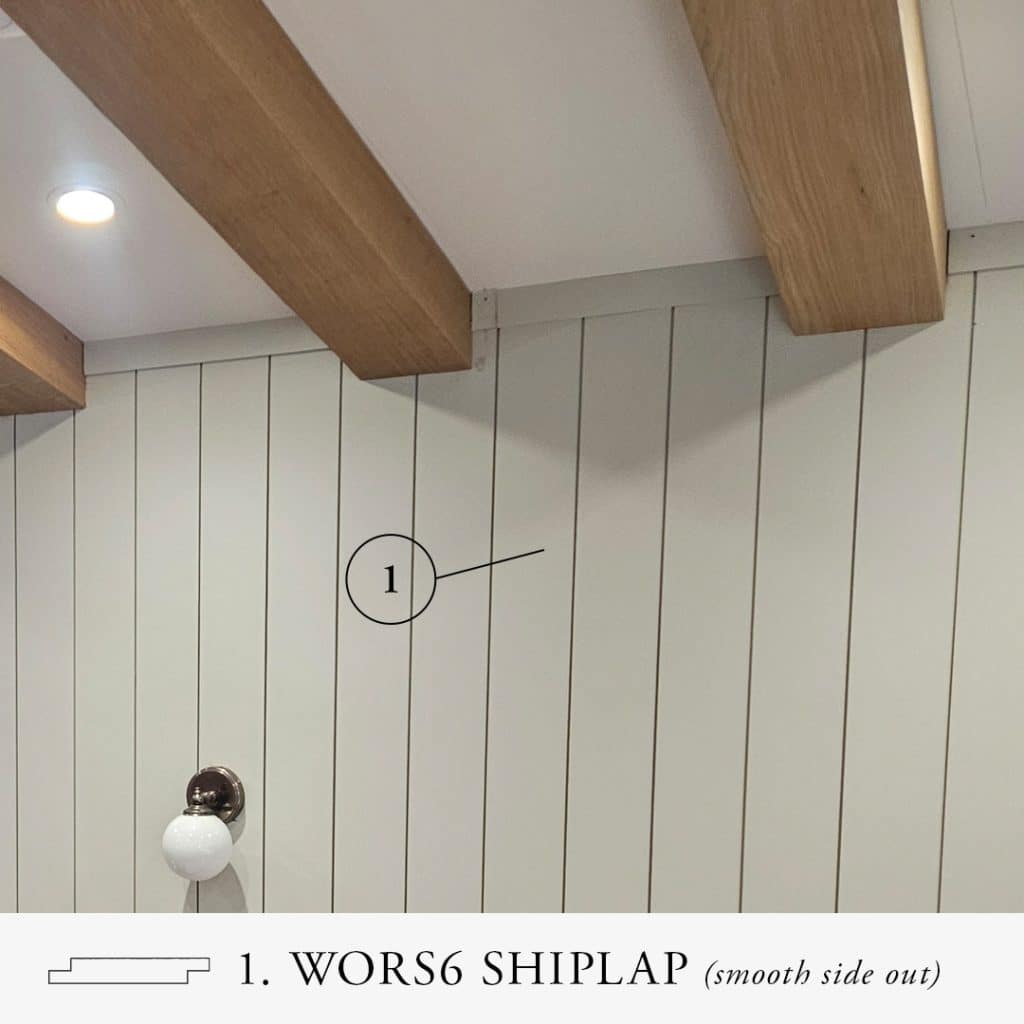
How to install WindsorONE Shiplap
WindsorONE shiplap comes in 1×6 and 1×8 sizes. Need samples so you can determine which one will look better for your project? Request them for free here.
Step 1: Acclimate the Boards
Allow your shiplap boards to acclimate in the conditioned space where they will be installed for 24-48 hours. More importantly, check the moisture content using a moisture meter; for interior installation, the moisture content of pine shiplap should be between 6-9% MC. This greatly limits expansion or contraction after installation.
Step 2: Find and Mark Your Studs
If installing over a drywall surface, use a stud finder to mark your wall, allowing you to nail directly into the studs for a secure hold. When installing onto other substrates such as OSB or plywood, it remains crucial to fasten through that substrate and into the studs.
Step 3. Start From the Bottom
Start at the bottom of the wall and progress upward. Utilize a level to ensure that your first board is completely straight – this will establish the foundation for the remainder.
Step 4: Nail It In
Use 15- or 16-gauge siding nails to secure the board to the studs. The nails must be long enough to pass through the underlying materials, such as sheathing, and penetrate into at least 1-1/4 inches of solid wood. Nail at an angle through the tongue fastening to each stud and nail on the face along the ends of each piece of material.
Step 5: Stack and Repeat
Stack the boards upward. WindsorONE’s WORS Shiplap profile is designed for a tight fit; if you’re looking for a gapped appearance, use tile spacers to achieve this aesthetic. NOTE: another pre-gapped option is available in WindsorONE’s nickel gap profiles.
Step 6: Cut to Fit
Using a miter saw ensures clean cuts at corners, outlets, or ceilings, while a jigsaw helps with trickier shapes.
Step 7. Finish Strong
Once installed, you can caulk seams, fill nail holes, and touch up paint. WindsorONE is pre-primed and ready for painting, so you’re starting with a smooth finish.
(For more tips and tricks on installing shiplap see the video below)
Bonus Tip: Make It Yours-Painting
When painting, apply one coat of topcoat before installation to prevent movement lines from appearing seasonally as the wood adjusts to changes in relative humidity within the home.
Looking for more Shiplap Inspiration and Ideas?
Check out the WindsorONE Idea Gallery, for shiplap walls & wainscoting, shiplap ceilings and use in commercial spaces.
All this inspiration is due to pics WindsorONE fans send in. We love seeing pictures from builders and homeowners, we would love to see pictures of your WindsorONE projects! Fill out the form or send it to Asktheboys@windsorone.com.
A Remodel Worth Talking About
Word of mouth travels fast in Petaluma—and now, so does the story behind the walls at Lombardi’s. If you’re local, stop in, grab a sandwich, and run your hand along the trim. Then, feel free to say, “That’s WindsorONE.” This is the blueprint for building a space that feeds the eyes and the soul.
WindsorONE: Protecting Craftsmanship. One BBQ joint at a Time.
Built with pride. Backed by builders. Now proudly served at Lombardi’s.
Need a Catalog? Great – because WindsorONE gives these out for free. Request below:
10 Shiplap Installation Tips from Master Craftsman, Gary Striegler
Take your shiplap installation knowledge further by checking out these tips from Gary Striegler. Here he goes through the top 10 tips for installing shiplap and v-groove. Hosted by Matt Risinger of the BUILD Show, and see more great videos from Gary’s channel as well.
