


Dormers are the charming architectural features that bring light into upper floors or attics, enhance curb appeal, and create visual interest in a roofline. When Stig Tisell is not hooking WindsorONE up with tshirts & merch, he’s taking a deep dive on the home remodeling front. After going through the classic “Get Your House Right: Architectural Elements to Use and Avoid,” he decided it was time to really boost his home’s curb appeal by giving those dormers a facelift. When deciding what trim to use, the king of swag chose the king of boards. WindsorONE’s Protected Trim Boards have a 30 year warranty and protect against rot, insects & mold. They also include a patented Water Resistance SystemTM that reduces the wood’s ability to absorb moisture. This is not the same old wood trim; advancements in technology have brought wood back to the forefront of exterior installation; it helps to be educated on the variety of options out there and how they perform. And what builder doesn’t love to work with wood when they can?
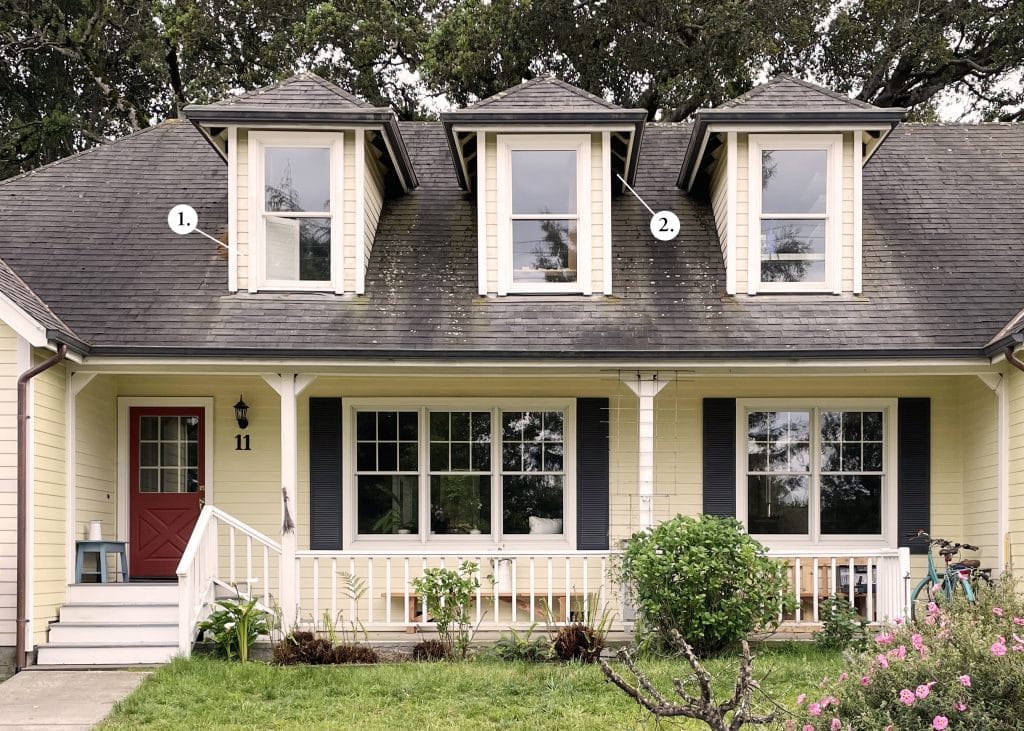
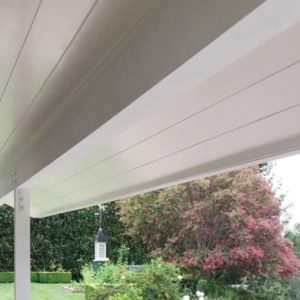
BEFORE: Original dormer set up. Design-wise note the improvements that can happen here: 1. Whenever you see short runs of siding like this, it’s an opportunity to clean up the look with a wider trim board. 2. For this part of the project, Stig didn’t use WindsorONE, but worth noting these small eaves aren’t well defined and were enhanced by adding a decorative fascia. Are there lookouts there? What’s happening in that recess? Anytime you have trouble figuring things like this out, it’s an opportunity for a design improvement.
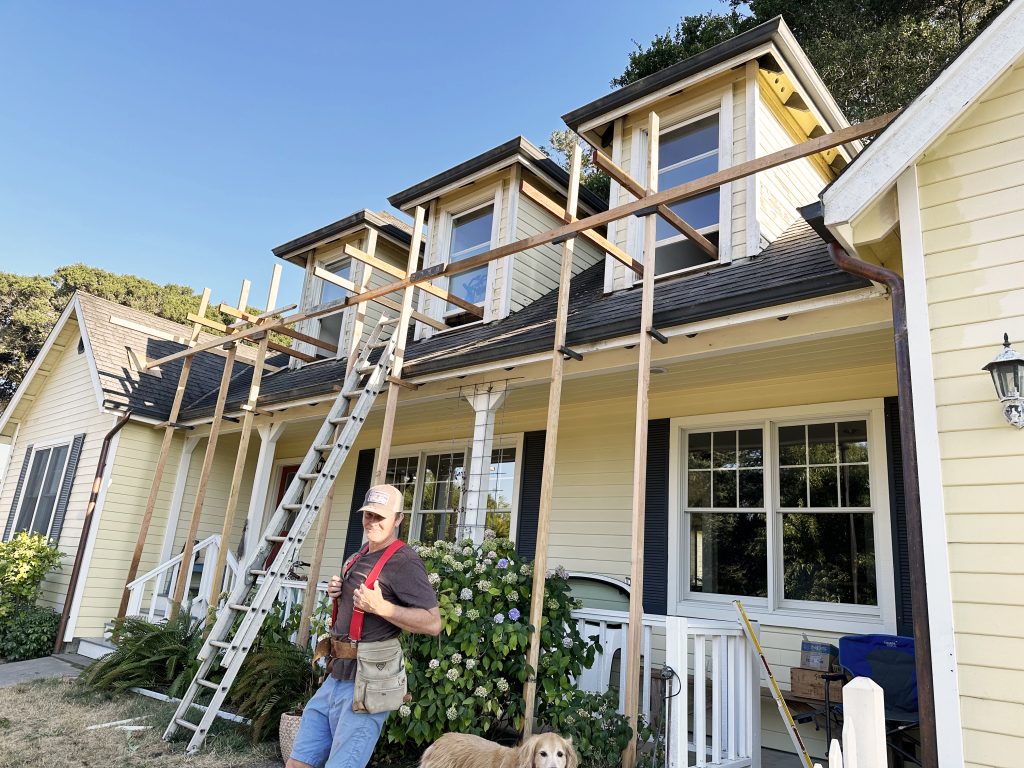
In progress shot of the jobsite with the man himself.
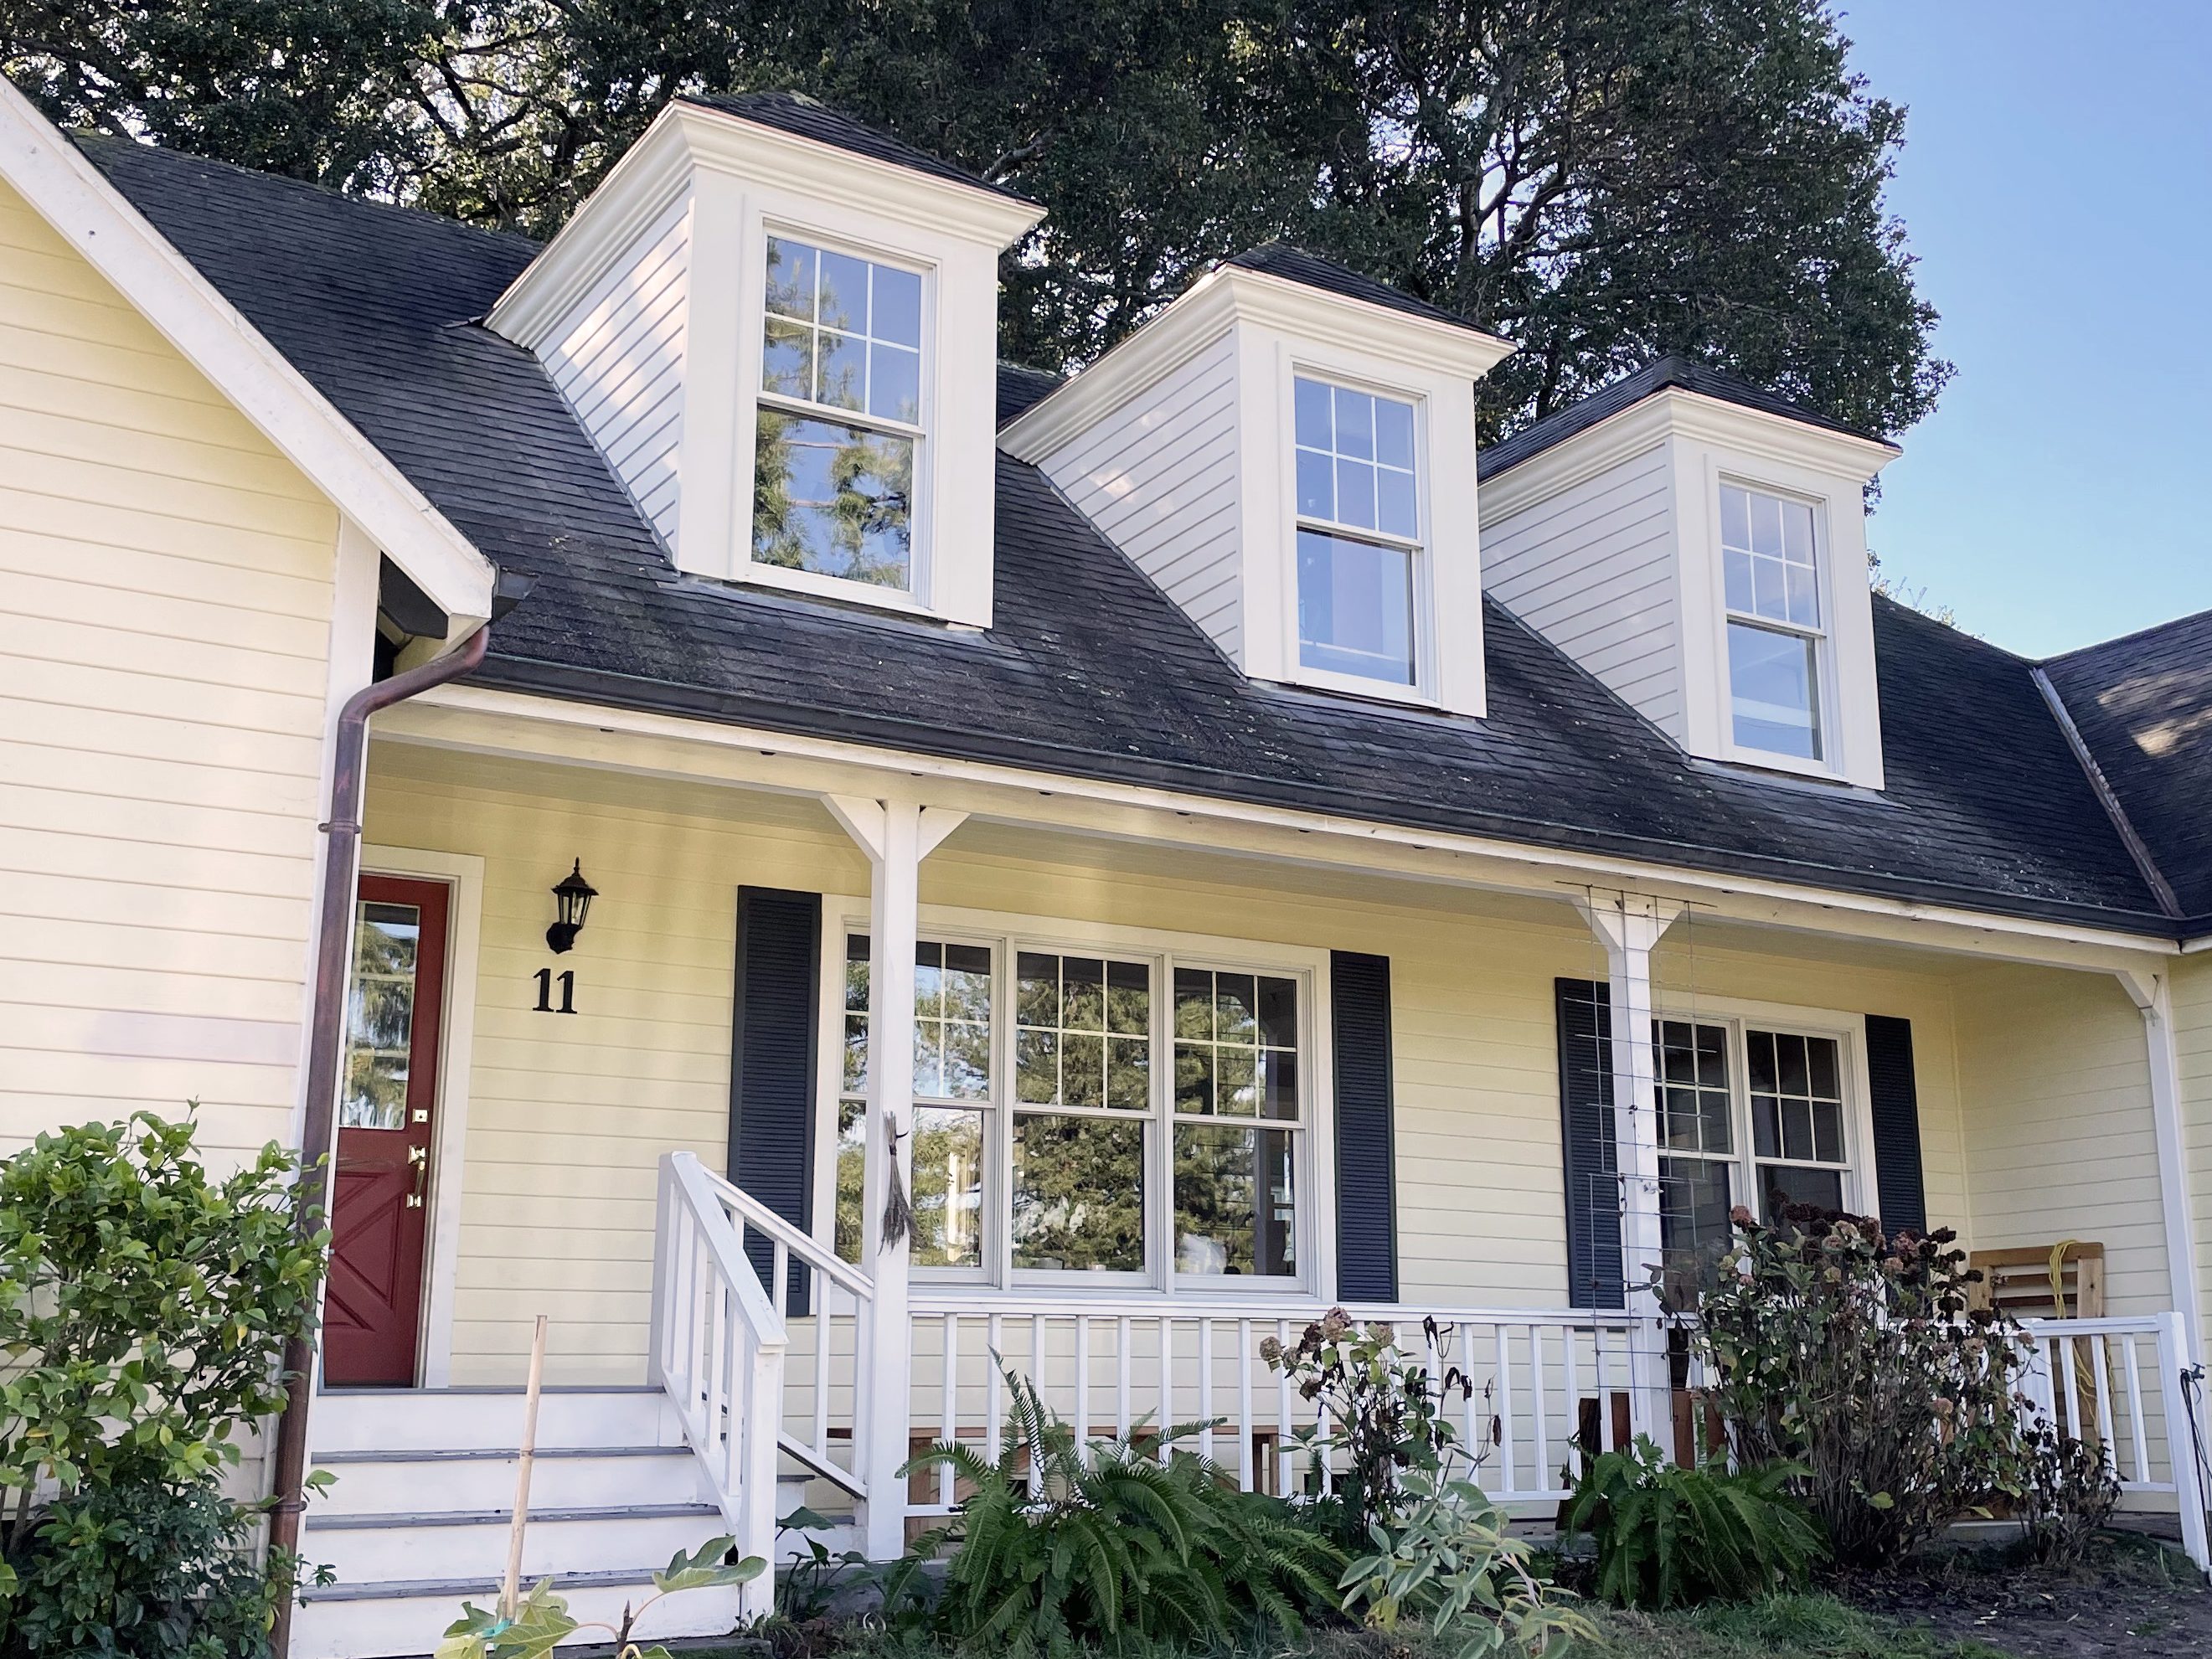
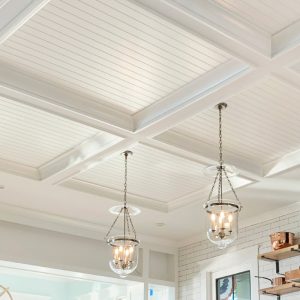
AFTER: The dormers look pristine, featuring WindsorONE Protected S4SSE Trim Boards casing out the windows with a 30 year warranty against rot, insects & mold. Protected Boards include the Weather Resistance SystemTM, which limits the rate at which the boards can absorb moisture. Another reason WindsorONE Protected boards are the choice of true craftsmen for exterior trim; Since its launch over 18 years ago, there have been 0 claims on rot insects and mold.
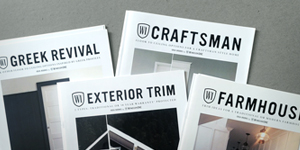
Learning more about Exterior Home Design and Trim installation
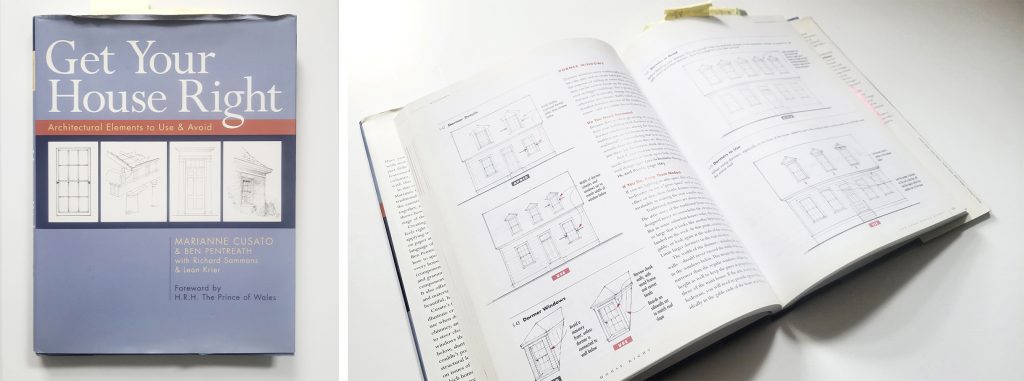
“Get Your House Right;” a great resource to have if you want to get ideas on how to best incorporate exterior trim features, as well as general design concepts for the exterior of the home.
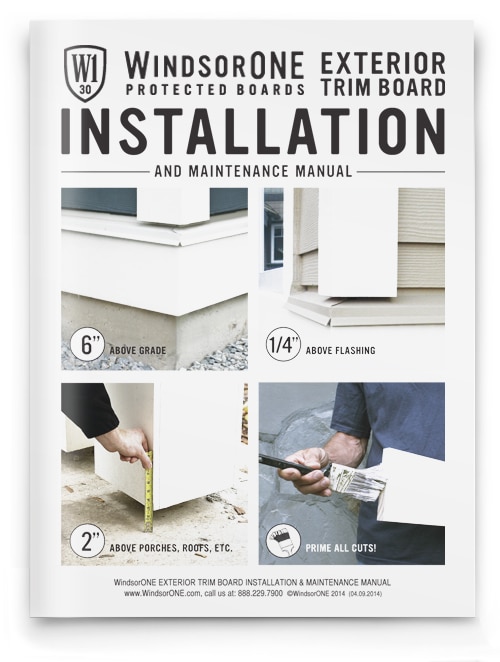
For the info on how-to install WindsorONE primed wood trim on the exterior, download a copy of the WindsorONE Exterior Trim Board Installation and Maintenance Manual.
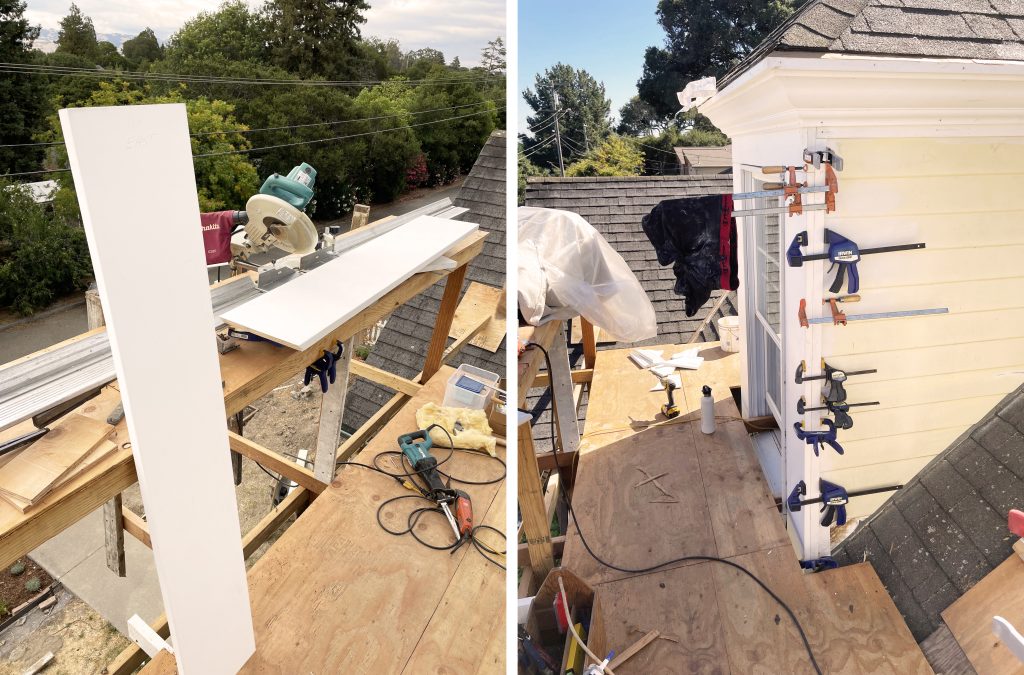
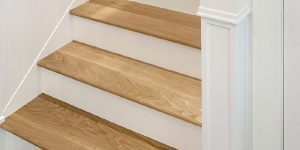
S4SSE Trim Boards up on the scaffold. Hat tip to Stig for the nice setup he’s got going on here. And perhaps the old adage is true, you can never have enough clamps!
FOR A LONG LASTING EXTERIOR WOOD TRIM INSTALLATION, PROPER CLEARANCES ARE KEY
When framing out a dormer with wood trim, creating a gap between the trim and the roof or flashing is essential for moisture management. In this case we recommend a 2” gap between the wood trim and the roof to avoid wicking. The same goes for column wraps; 2 inches off the hard surface is ideal. This may seem significant, but when looking at the overall build, these clearances are barely noticeable and will ensure the longevity of your trim installation. Check the diagram below for other tips when installing corner boards, fascia & rake around the roof.
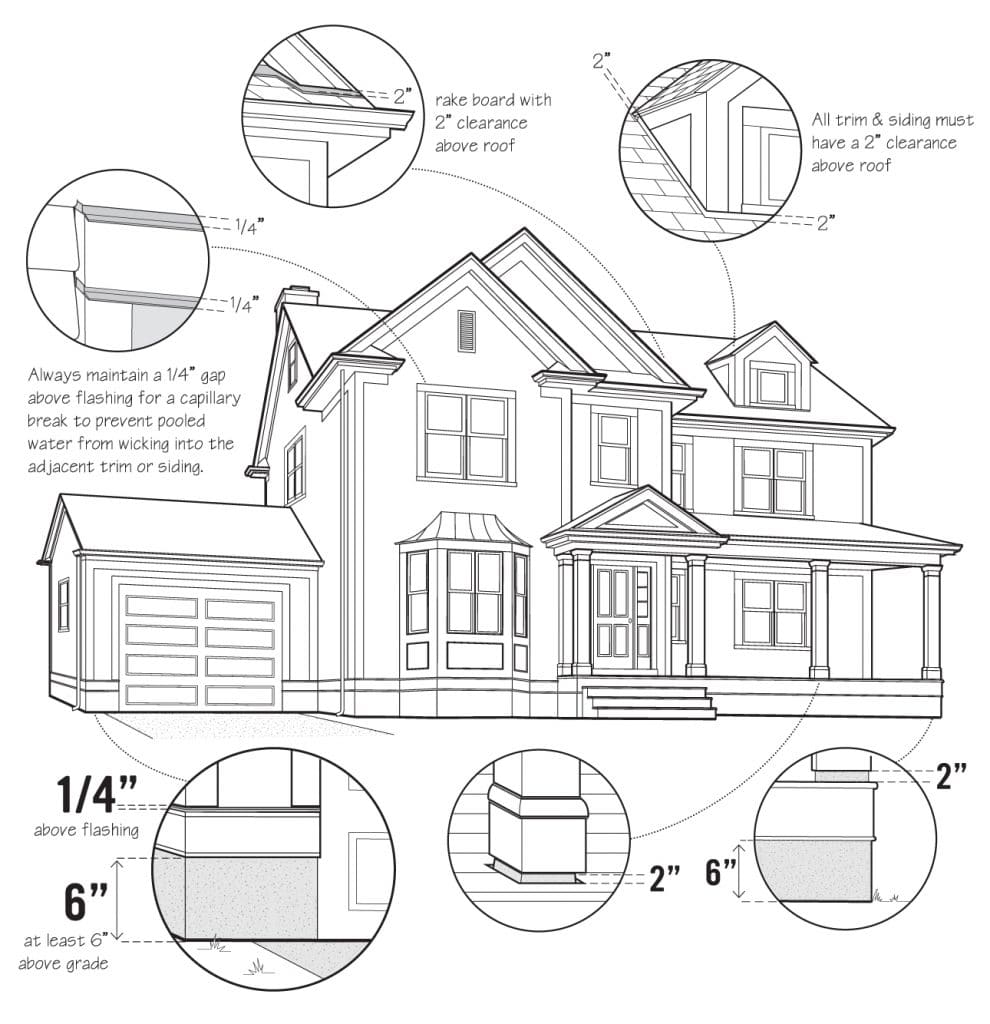
Other clearances to keep in mind are 6” above grade for any wood trim products and ¼” from the flashing details. Installing trim a minimum of 6” above grade will help ensure snow drifts and high water don’t over saturate the wood. Similarly shrubs and other greenery should be trimmed to not come in contact with the house envelope.
You can never keep moisture away from your exterior envelope, but you must always be sure it has a means to escape.
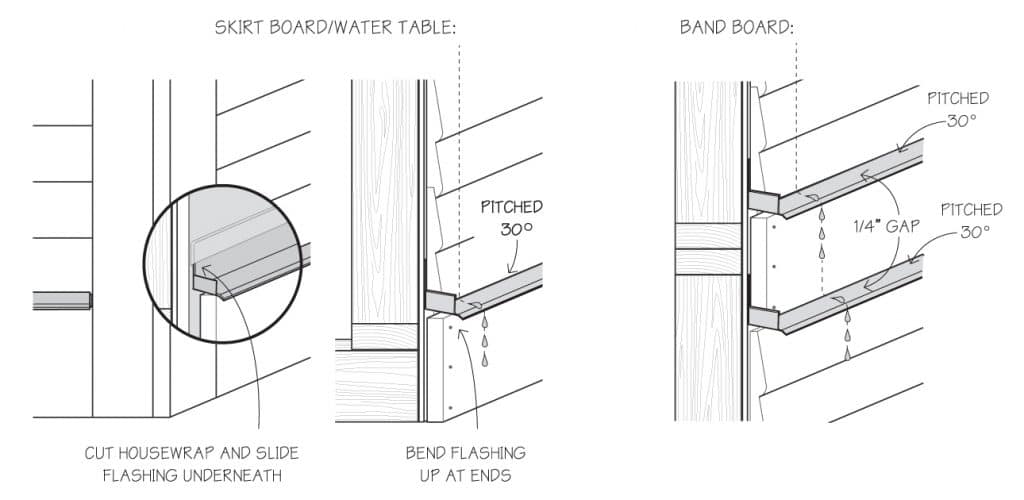
¼” gaps between flashing and wood trim or siding are an imperative for maintaining a capillary break. Any smaller and the water will become “stuck” in the gap between the trim or siding and the flashing, causing wicking challenges. Additionally, don’t forget to pitch that flashing.

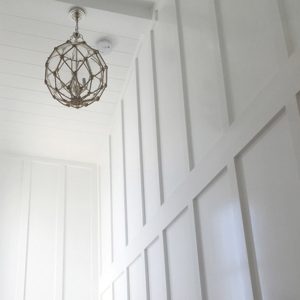
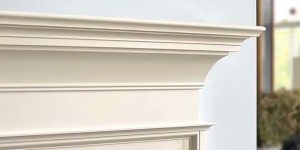
A detail shot of one of the remodeled dormers. Quite the upgrade!
Redoing dormer trim might seem like a small project, but it can have a big impact on your home’s exterior. With the right materials, a thoughtful design approach, and careful installation, your updated dormer trim can enhance both the form and function of your roofline for years to come.
Whether you’re a DIY enthusiast or hiring a contractor, don’t overlook the details—trim is where craftsmanship truly shines. Do you have any before and after photos of your WindsorONE Trim projects? We would love to see them! Please send to AskTheBoys@WindsorONE.com
Thanks Stig for sharing the pics of this awesome project! We would also like to send a shoutout to The Moulding Company for supplying the material.